|
Code Roar Reference Manual: Configuring Styles |
|
|
Code Roar Reference Manual: Configuring Styles |
|
Code Roar allows significant flexibility in configuring the colors for different file types. To change the color for a language the following instructions should be followed:
Select the "Change Settings" option from the Settings menu to active the Settings dialog.
Select the "File Types" tab to activate the configuration options for a file type and select the desired File type from the list at the left of the dialog.
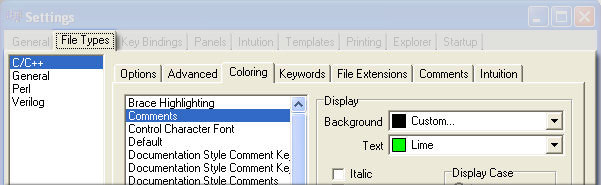
Once you have selected the appropriate file type, continue by selecting the "Coloring" tab to activate the coloring options for the selected file type.
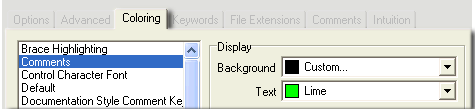
The Coloring tab will be displayed showing a list of available language options for the selected file type. For example, the figure above shows the options available for C/C++ files. These include such things as Comments, Brace Highlighting, etc. This list is specific to the choice of lexer.
Select a language option from the list in the Coloring tab and specify the background and text colors as well as the font. An example or preview of the option is displayed in the dialog.
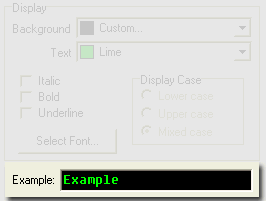
To unify all language options with a particular foreground color select the "Unify Foreground" button. This will copy the current foreground or text color to all other options.
To unify all language options with a particular background color select the "Unify Background" button. This will copy the current background color to all other options.
Select the "Ok" button at the bottom of the dialog to save the new options.